


01
02
03
04
05
06
07
08
09
10
11
12
13
14
15
16
17
18
19


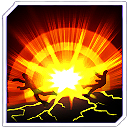 Detonate
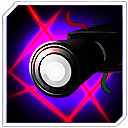 Surveillance Camera
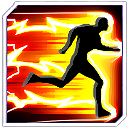 Super Speed
 Psychic Assault
 Zatanna's Psychic Assault
 Starro's Psychic Assault
 Super Strength
 Consume
 Healing Wave
 Invulnerability
 Meteor Drop


 where the FUCK is the 'guide'?